How to Convert an Image to a Prompt
A Practical Editing Workflow
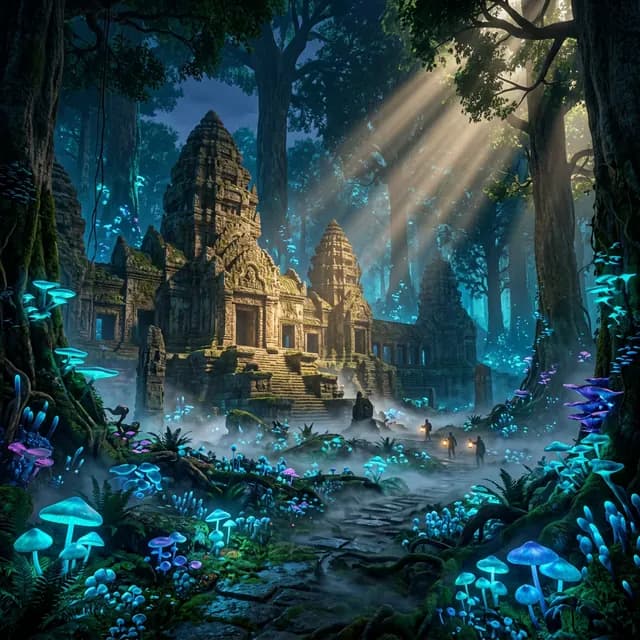
Converting an image is the easy part. The awkward part comes after: the tool gives you a dense paragraph, you paste it into an image model unchanged, and the result somehow misses the reference.
This workflow treats the extracted prompt as an editable first draft. Correct the subject and composition first, work on light and style second, and add platform-specific syntax only at the end.
1. Choose an image that can be read clearly
Start with a reasonably sharp image that has a clear subject and little text covering the frame. Collages, busy screenshots, and heavily compressed thumbnails make it harder to separate the main scene from incidental details.
- For composition, choose a reference with clear shapes and spacing.
- For style, choose one with distinctive color, texture, or brushwork.
- For products, use an image where the object separates cleanly from the background.
2. Upload the image and choose a target format
Open the generator, upload a file or paste an image URL, then choose the model you plan to use. Model-specific output can save editing because a natural-language model and a tag-based workflow do not read prompts in quite the same way.
If you have not picked a model yet, generate a complete general description first. Add parameters later.
3. Check facts before improving the prose
Place the result beside the reference and inspect six things:
Fix subject, action, and viewpoint mistakes before adding style language. More adjectives will not rescue a wrong composition.
4. Remove impressive-sounding filler
Words such as “masterpiece,” “stunning,” and “award-winning” are easy to add and hard to measure. Replace them with visible choices:
- Turn “cinematic” into low-key lighting, widescreen framing, and warm-cool contrast.
- Turn “premium” into restrained colors, soft reflections, and deliberate negative space.
- Turn “photorealistic” into natural skin texture, believable material, and a specific depth of field.
5. Decide what stays and what changes
Do not try to copy every pixel. Write down the part of the reference you actually need.
Keep: early backlight, forest mist, low viewpoint, quiet mood.
Replace: change the cabin into a vintage camper van.
New prompt: A cream vintage camper van parked beside a forest track at dawn, low-angle medium-wide view, warm backlight filtering through mist and tree canopy, damp ground, restrained natural colors, quiet documentary photography.
6. Rewrite for the model you use
- Conversational models: use complete, unambiguous sentences and state relationships clearly.
- Midjourney-style workflows: keep strong visual phrases, front-load the subject, then add aspect-ratio controls.
- Stable Diffusion workflows: use shorter descriptive blocks and keep exclusions in a separate negative prompt.
- Flux-style workflows: describe spatial relationships, materials, and light precisely; avoid conflicting styles.
7. Change one variable at a time
If the first output misses, do not rewrite everything. Decide whether the problem is the subject, camera, light, or style. Change that one section and generate again. This is slower for one attempt and much faster across five.
Common reasons the result drifts
- The reference contains too many elements to reproduce reliably.
- The prompt asks for both minimal and highly elaborate treatment.
- Visible text is not specified separately by content and position.
- Style terms outweigh the description of the subject.
- Parameters from different image platforms are mixed together.
A quick final check
Read the prompt without looking at the picture. Could another person tell where the subject is, how the scene is framed, and what the light is doing? If yes, you have enough to begin testing.
For the underlying concept, read what image to prompt means. To see the editing decisions in context, continue to the worked image-to-prompt examples.
Related articles
Keep reading with practical prompt guides, model comparisons, and workflow examples.
What Is Image to Prompt? A Practical Beginner Guide
Learn what image-to-prompt tools actually extract, where they help, what they miss, and how to judge the result.
Image to Prompt Examples: 3 Worked Reference Images
See how portrait, forest, and cartoon references become clearer, reusable AI image prompts through practical worked examples.
How to Prompt Image Generators: A Master Guide
Learn the essential techniques and formulas for how to prompt image generators like Midjourney, DALL-E 3, and Stable Diffusion to get high-quality AI art.
The image-to-prompt service has ended
The generator is offline. Visit the homepage for the full service update.